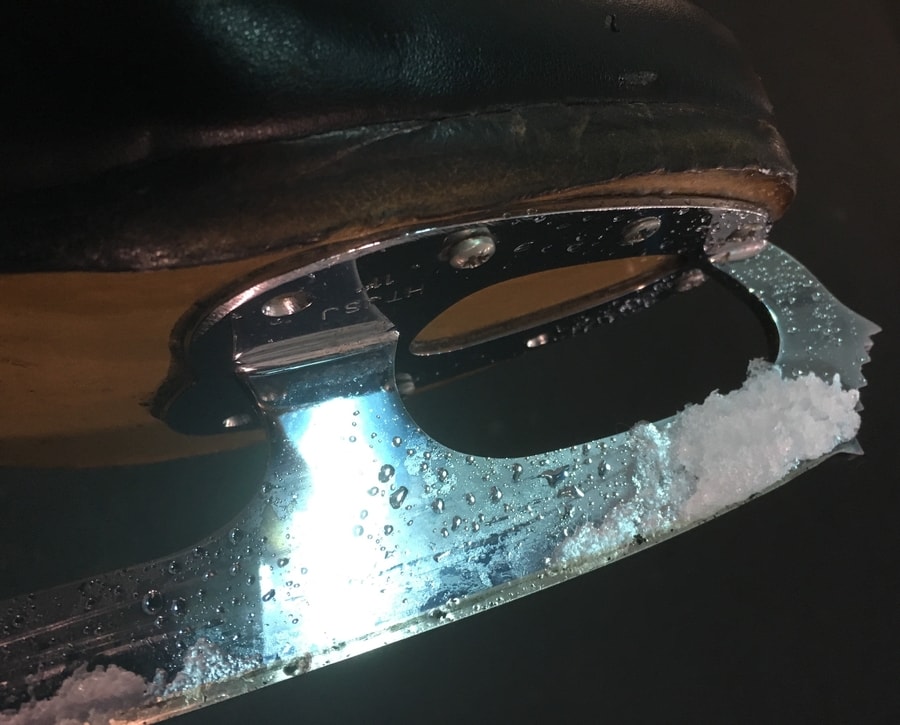
Waterproofing your ice skates is very important when it comes to the care of your skates. Water from melted ice that soaks into the leather on your boots will weaken and eventually rot the leather. When the leather around the screw holes starts to rot, then you can end up with loose screws and loose blades. Waterproofing your skates to greatly increase their life and the way they look is easy. Here is how.
First your going to need dry skates, so preferably not just after you have stepped off the ice. You will need some Sno Seal, a cloth, a hair dryer and some gloves. After smearing the Sno Seal onto the leather, heat with the hair dryer and finish with the cloth. To get a profesional finish, see the following steps.
Why use Sno Seal to waterproof your ice skates?
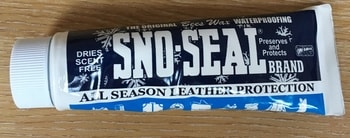
Well firstly because its a good product that really does work. The difference after you have applied the Sno Seal is dramatic. It massively stops the water getting into the leather, especially on the sole area where the boot is most likely to get wet.
Secondly, because Sno Seal doesn’t soften the leather of the boots. Regular polishes and water proofing compounds are often oil based and so penetrate the leather. When the leather absorbs the oils it becomes softer. As the boot softens, it looses its structural integrity, it becomes weak. This is obviously not desirable, as a week boot will crease and the with softer leather, the skater will loose the support of the boot and control over edges.
Sno Seal is a beeswax waterproofing agent. According to Atsko who make Sno Seal, the beeswax sits on top of the leather and doesn’t penetrate it. This means that the structure of the leather is preserved during and after the waterproofing process.
Thirdly, it leaves a lovely finish on your skates. They look like they have been polished.
Finally, Sno Seal is pretty cheap. It is waterproofing method, that is very effective and reasonably low cost.
To check out the up to date prices on Sno Seal click here to view in the U.S.A. (Link to Amazon – Commissions earned)
Make sure that your skates are dry
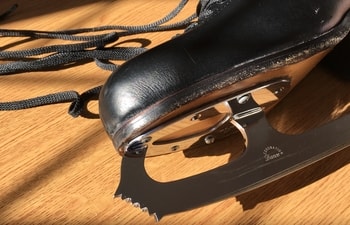
The skates do need to be dry. The day after you skated last should be fine. You really don’t want those dark patches on the soles, where water has soaked into the leather. This is because, if your skates are wet, when you put the Sno Seal on, you will seal in the moisture. It will go eventually, if you did do it wet, but its not a good idea, you are trying to keep the moisture out, not in.
Applying the Sno Seal
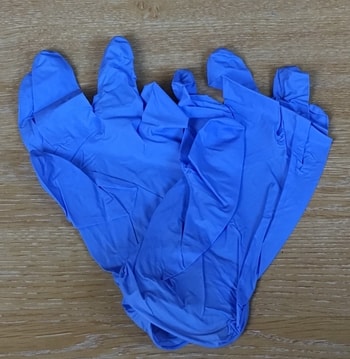
Get yourself a pair of gloves on. That way you can really get into the job without worrying that you have Sno Seal all over your hands. Sno Seal is a brilliant waterproofing agent, so as you can imagine, it can be interesting trying to wash it off!
Its also a good idea to put something on the floor where you are working, as the Sno Seal can drip when it gets hot and runny.
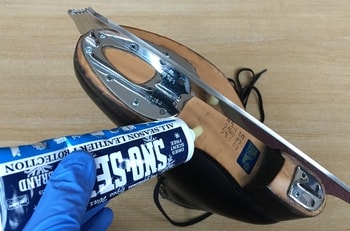
Next you need to apply the Sno Seal. Start by applying a small amount to the sole of the boot. Start small at first, until you have an idea of how it spreads.
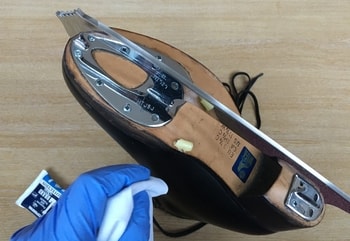
Now you need to start working the Sno Seal over the surface of the sole, so as to get a good covering. Do this with a clean cloth or rag.
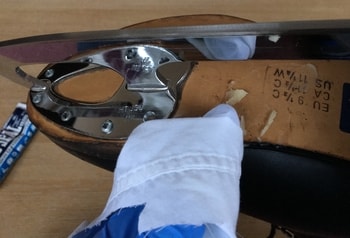
Next you need to melt the Sno Seal with a hair dryer. Set the hair dryer to fairly warm and you will soon see the Sno Seal start to melt. Once the area of Sno Seal has melted, use a cloth to wipe it around and thin it out a little. Move your way around all of the leather this way. Just keep smearing the Sno Seal on, melting it with the hair dryer and and then spreading the melted wax around to form a nice thin layer over all of the leather.
Buff the Sno Seal to a shiny polished finish
Now that the boot is covered with a nice thin layer of Sno Seal, its time to buff to a nice finish. Take a dry part of your cloth that doesn’t have any Sno Seal on and buff with a reasonably quick action to get a nice polished finish.
Your boots should now look loads better and be a great deal more water proof. If you repeat this process every year, you will greatly increase the life of your ice skates and keep them looking good as well.

